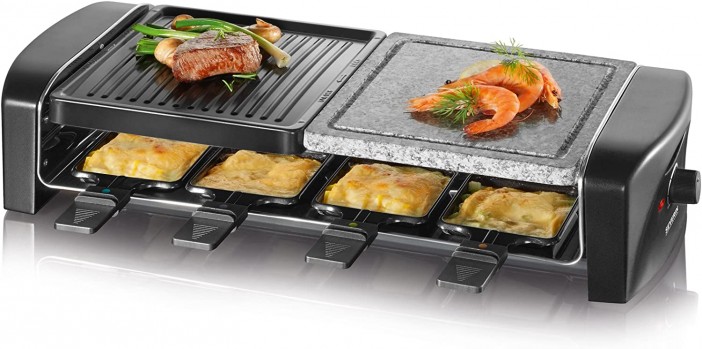
Quels sont les meilleurs modèles d'appareil à raclette ?
Utiliser des ustensiles de cuisine dernier cri est un avantage prépondérant que tous les chefs ne peuvent nier. En effet, sans matériel adéquat, certains ingrédients ne peuvent être manipulés…
Utiliser des ustensiles de cuisine dernier cri est un avantage prépondérant que tous les chefs ne peuvent nier. En effet, sans matériel adéquat, certains ingrédients ne peuvent être manipulés…
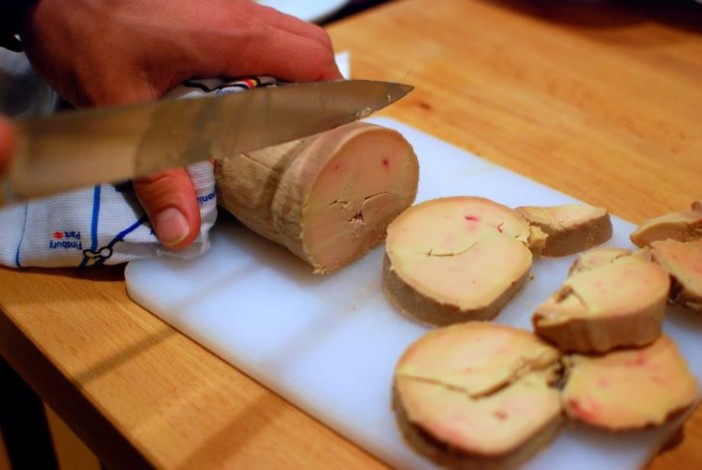
Très souvent vous faites du foie gras, pas pour une consommation directe, mais pour faire des réserves. C'est d'ailleurs très astucieux. De cette manière, vous pourrez en manger quand vous…
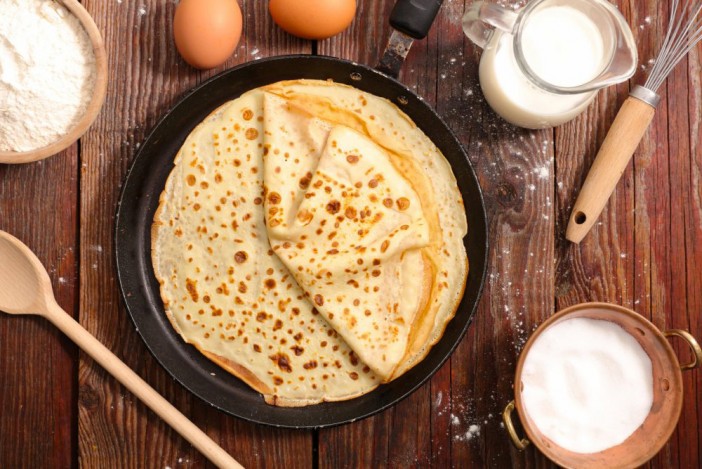
Dans un souci de bien réussir vos crêpes maison il est impératif de choisir la poêle adéquate. Même si je pense sincèrement que le Tefal E4401185 Talent Pro Crêpière surpasse largement…
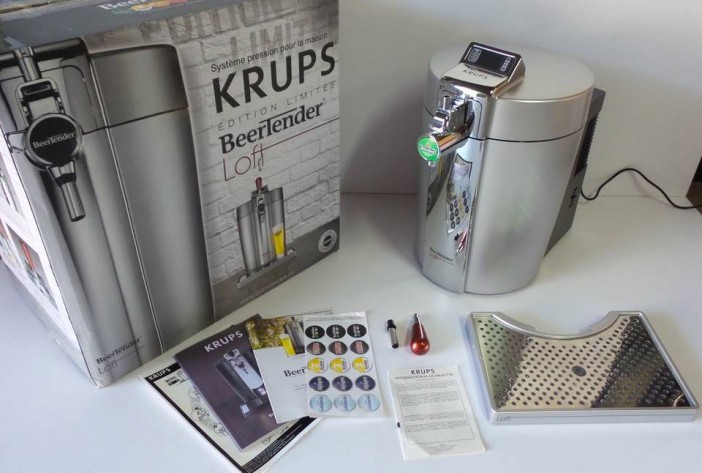
C'est toujours un vrai plaisir de pouvoir servir de la bière pression chez soi lorsqu'on reçoit du monde. Krups fait partie de ces marques qui misent sur la qualité et la durabilité de…
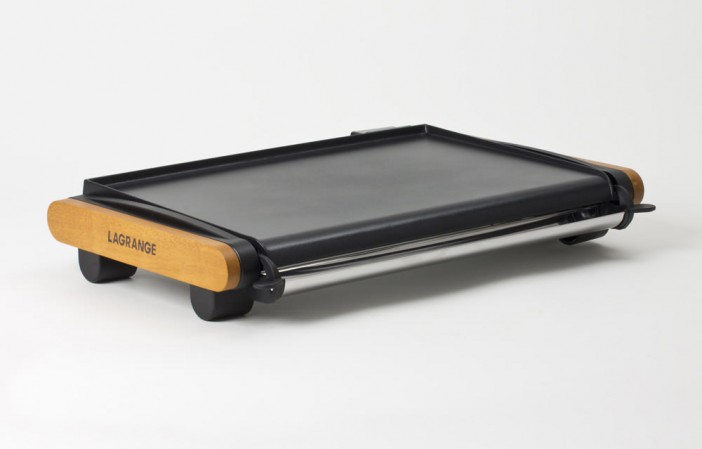
J'utilise souvent la plancha pour préparer différentes recettes de grillades. Très pratique au quotidien, cet ustensile de cuisine est aussi facile à transporter. Je l'utilise dans ma cuisine,…
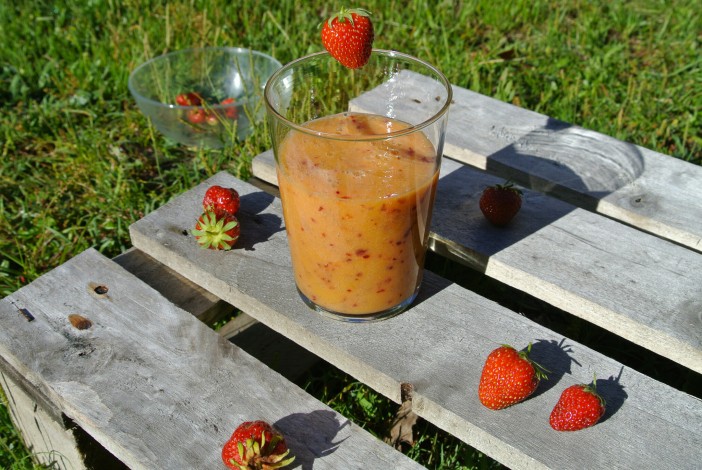
Sweet drink, sweet drink… A quoi cela m'a tout de suite fait pensé ? Les smoothies et les milkshakes ! Il a fallu choisir et j'ai choisi le smoothie pour sa légèreté et ses vitamines.Il…
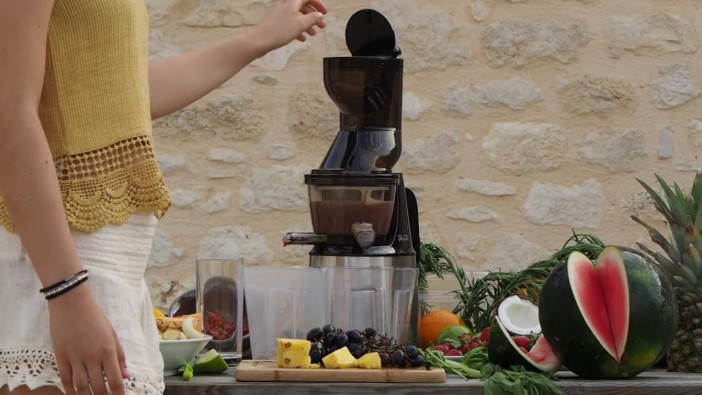
Avec les nombreux modèles d'extracteurs de jus existant sur le marché, il peut parfois s'avérer difficile de faire son choix. Un des produits phares du moment est le FitinJuice Deluxe.…
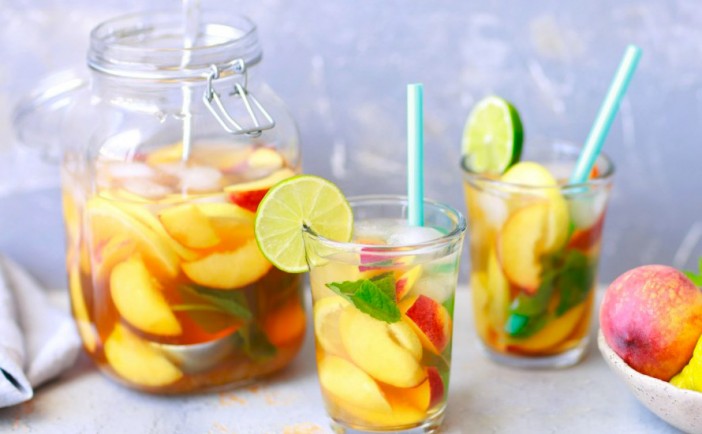
Le thé peut se préparer de 1001 façons. Dans les pays comme le Maroc ou l'Angleterre c'est une véritable institution qui a ses propres codes. Récemment je vous parlais de mon comparatif…

Choisir la bonne théière n'est pas une mince à faire, car plusieurs modèles sont disponibles sur le marché comme l'explique le site machinethe.com. Voici trois modèles qui vont surement…
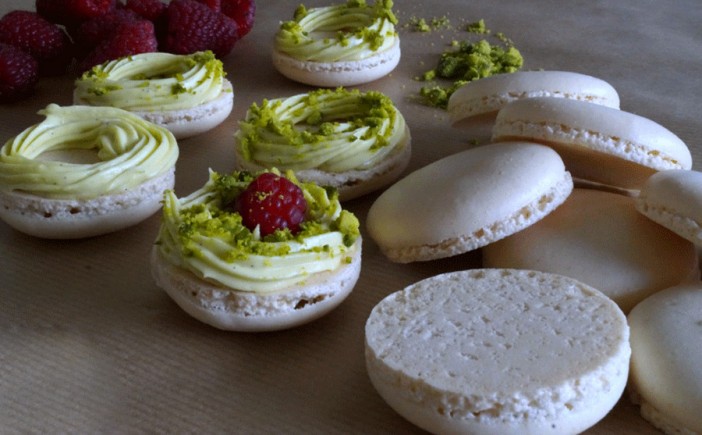
Bonjour,Je vous propose une recette de macaron parfaite si vous avez un robot pâtissier (voir mon article sur les meilleurs robots pâtissiers).Cette saveur pistache/framboise est une explosion…
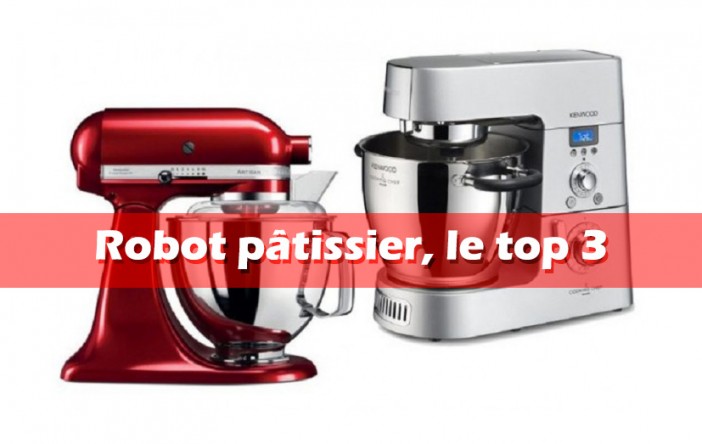
Actuellement, le robot pâtissier tient une place importante dans la cuisine de plusieurs ménages. En effet, cet appareil facilite la réalisation des recettes. Ainsi, pour vous faire plaisir…
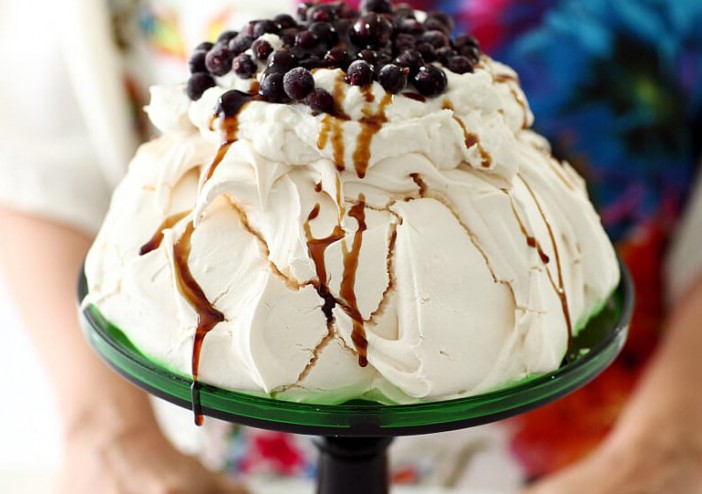
La Pavlova est un dessert très populaire à base de blancs d'œufs battus et de sucre. Il est servi avec de la crème fouettée et des fruits de saison. Il est léger, doux et délicat. Le secret…
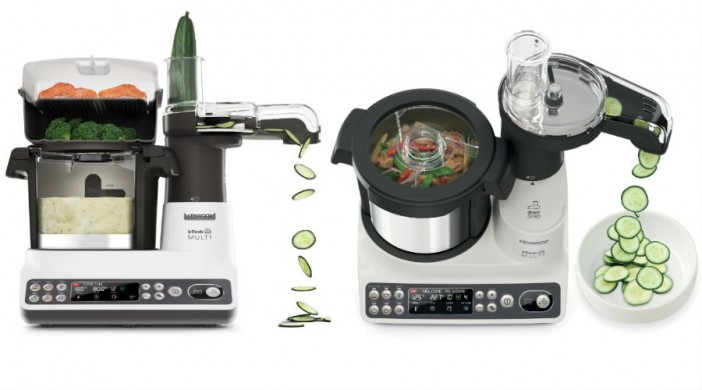
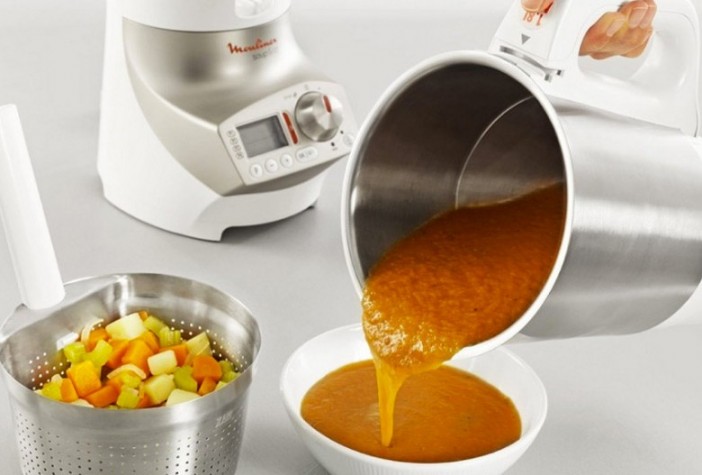
Beaucoup de ménages ont recours à ces appareils électroménagers qui ont été conçus dans le but de faciliter la vie en cuisine. Les robots cuiseurs font partie des dernières tendances les…
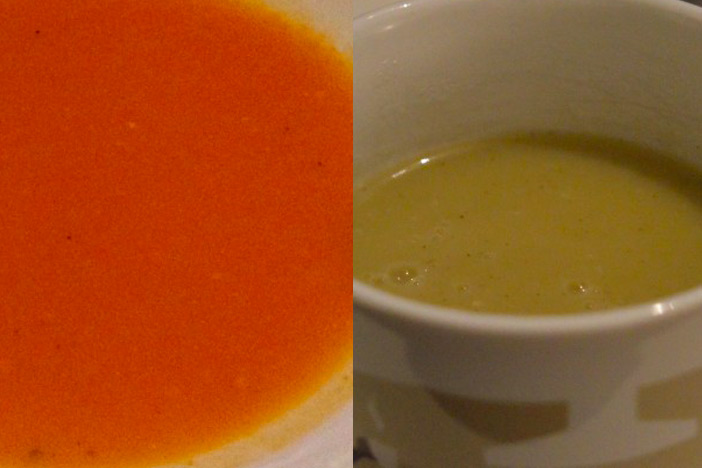
Manger des veloutés n'est pas nécessairement réservé au temps froid et pluvieux. On peut en déguster toute l'année et c'est une très bonne occasion de faire le plein de vitamines. Pour…
Je préfère préparer moi-même mes soupes au lieu d'acheter des plats en conserves. Et pour les réussir, il me faut des matériels performants et faciles à manipuler. Soup and Co fait partie…
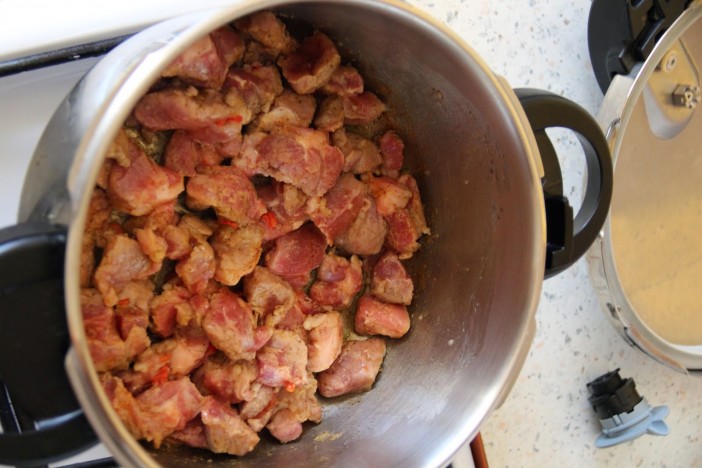
N'ayez pas peur des autocuiseurs ! Je recommande ce merveilleux appareil pour les gens comme moi qui manquent de temps parfois pour cuisiner, avec l'aide de cet appareil j'ai pu préparer…